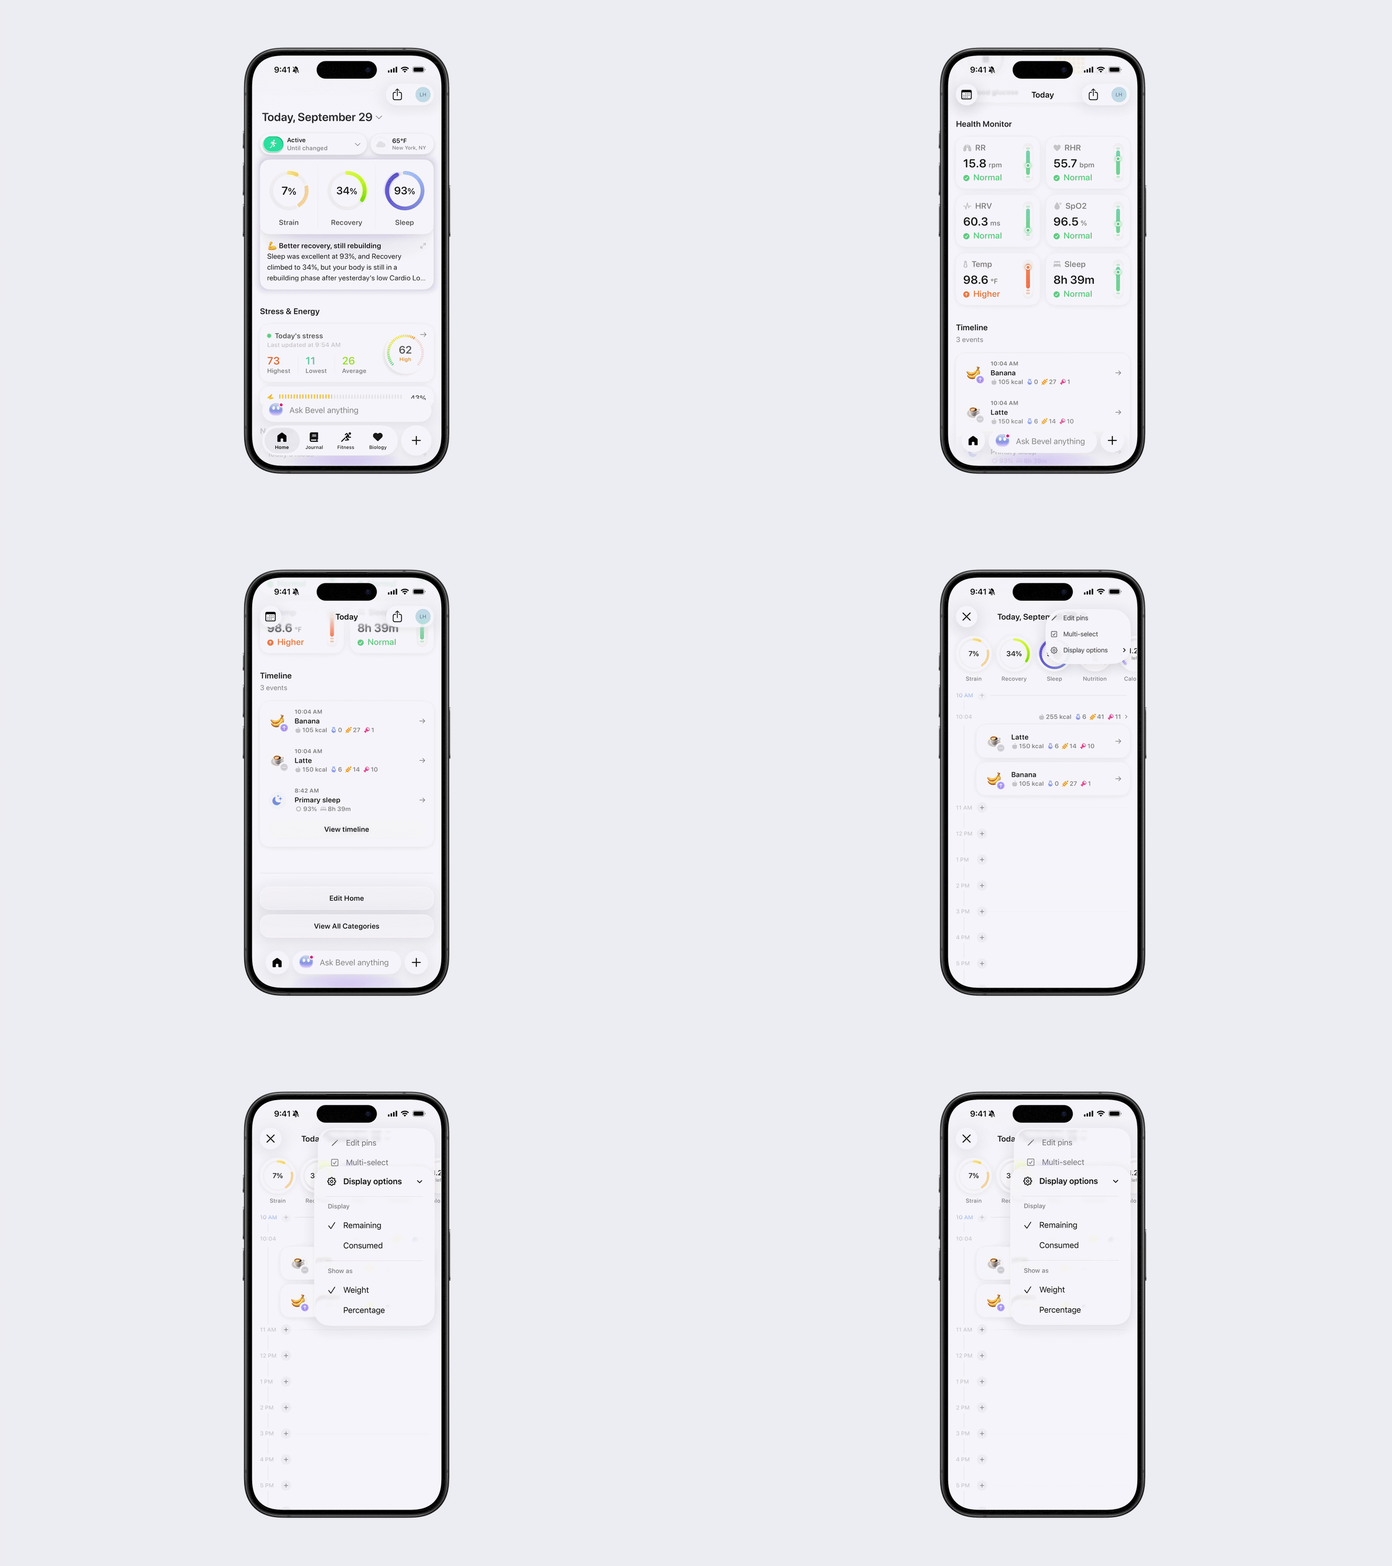
How to Customize Timeline Pins
The pins at the top of Timeline are fully customizable. You can add, remove, reorder, and change how each pinned metric is displayed.
How to customize your pins
Option 1: Via Pinned Metrics
Open Bevel.
Scroll down to Timeline.
Tap View Timeline.
Tap Add to the right of your existing pins.
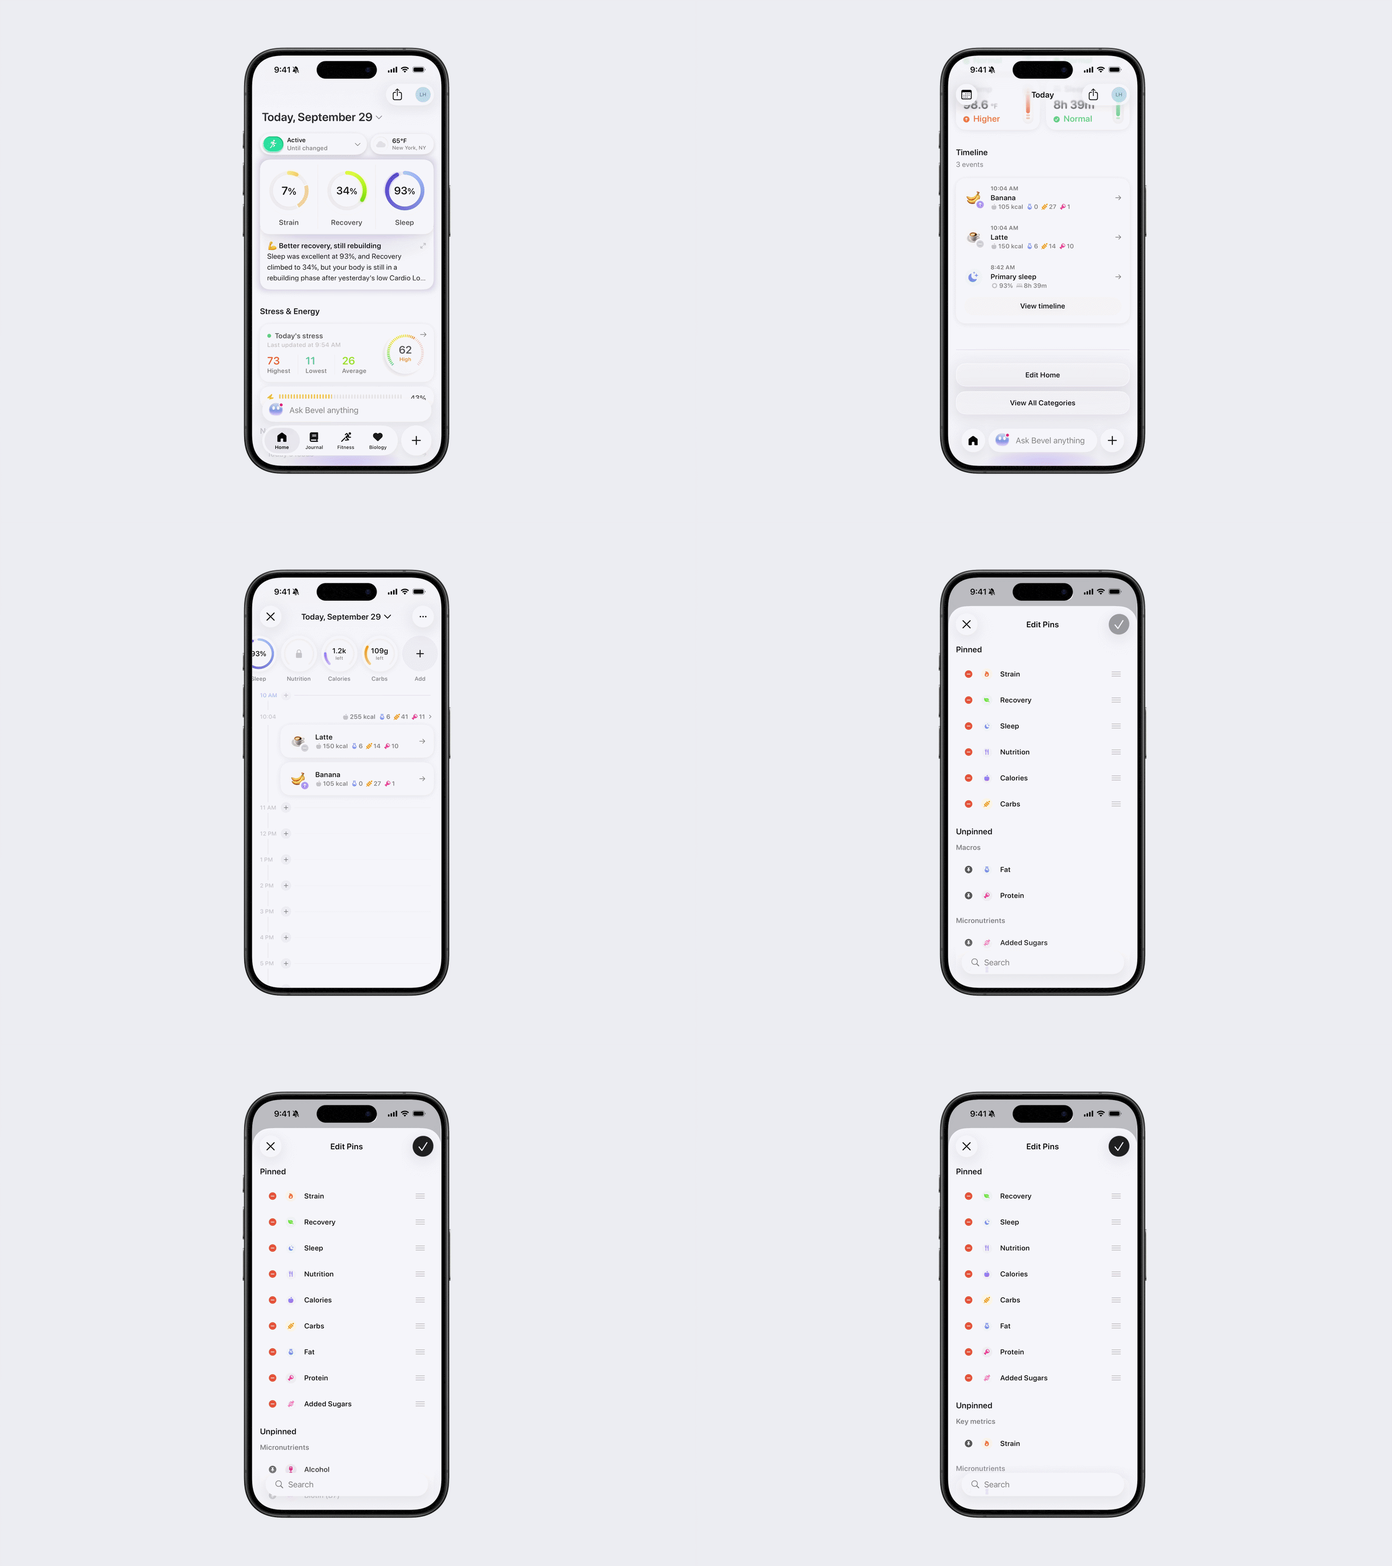
Option 2: Via the three-dot menu
Open Bevel.
Scroll down to Timeline.
Tap View Timeline.
Tap the three dots (…) in the top-right corner.
Tap Edit Pins.
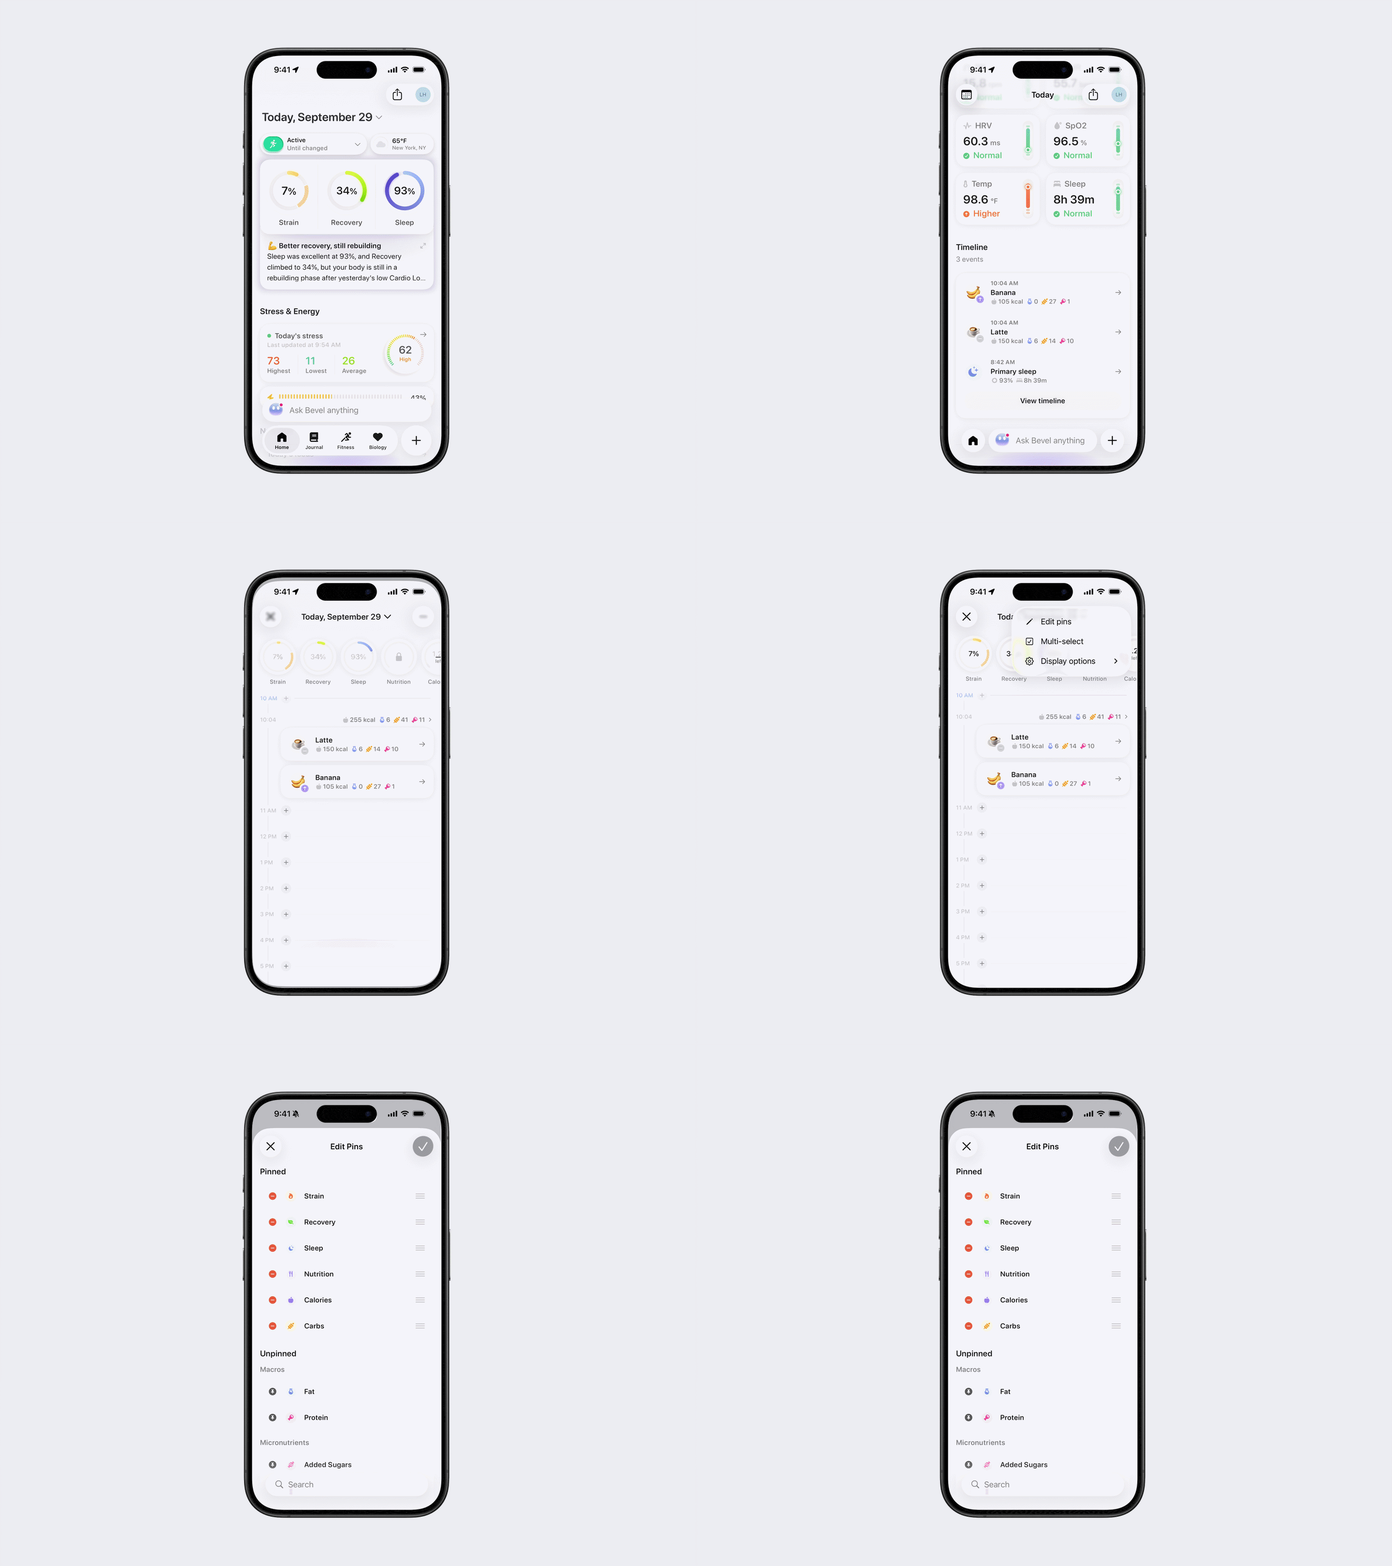
From either option, you can:
Pin a metric: Tap the pin icon next to an unpinned metric.
Unpin a metric: Tap the minus button next to a pinned metric.
Reorder your pins: Press and hold the three-line icon, then drag the metric to your desired position.
Customize how metrics are displayed
Each pinned metric can show either the amount Remaining or Consumed, displayed as a Value or Percentage.
To change these settings:
Open your full Timeline.
Tap the three dots in the top-right corner.
Tap Display Options.
Select your preferred display option for each metric.
For example, if you have consumed 500 calories and your daily goal is 2,000 calories:
Remaining Value: 1,500 left
Consumed Value: 500 / 2,000
Remaining Percentage: 75% left
Consumed Percentage: 25%
Tap any pin to view more information about the metric and what affected it.
Note: You must have a goal set for a metric before goal-based values can be displayed. See How to Track Nutrition Goals in Bevel for instructions.